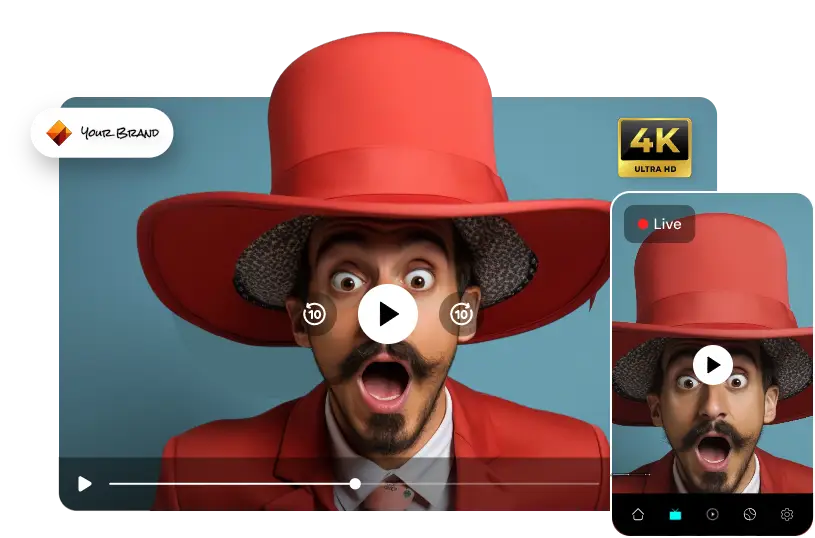
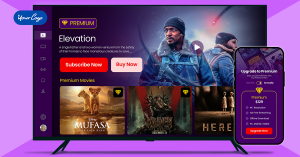
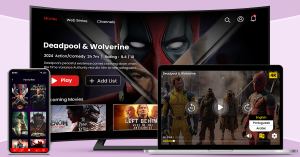
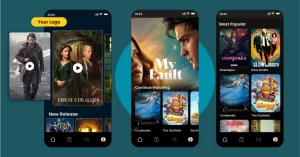
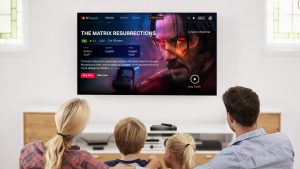
Deliver Video Experience On Your Branded App
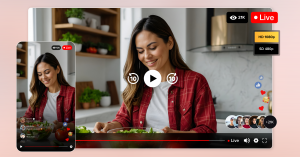
Broadcast Live Events to Global Audiences
Make Your Own Branded Short-form Video App
Cloud Playout Solutions for Linear TV & Online Broadcasting
Record Your Live Content & Stream Into On-demand Video
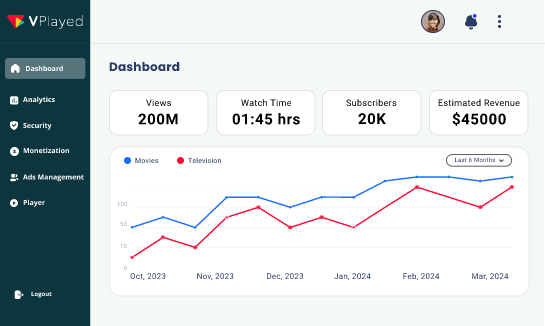
Store, Distribute, and Measure Your Video Content with Ease
Capture & Broadcast Video Content In Real-Time
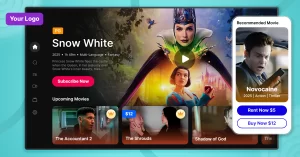
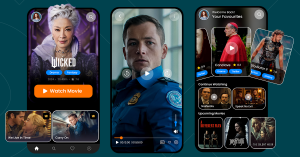
Stream & Experience Your Entertainment Platform
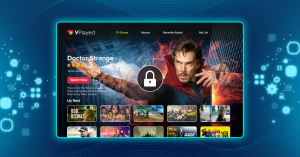
Scalable Platform For Distributors & Studio Owners
Stream Live & On Demand Worships Anywhere
Education made interactive, engaging, & accessible
Capture Every Moment & Engage Your Global Fans
Build a fitness studio online with reliable live & on-demand video
Reach professional audiences with streaming platform
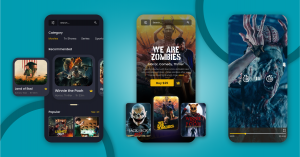
Catch All The Current Happenings In OTT Under One Roof
Explore How Our Customers Aced Streaming Business
Discover why VPlayed could be the perfect fit for your video streaming business in under 30 minutes.